Top 10 Yoga Poses for Women to Enhance Strength, Flexibility, and Emotional Well-B
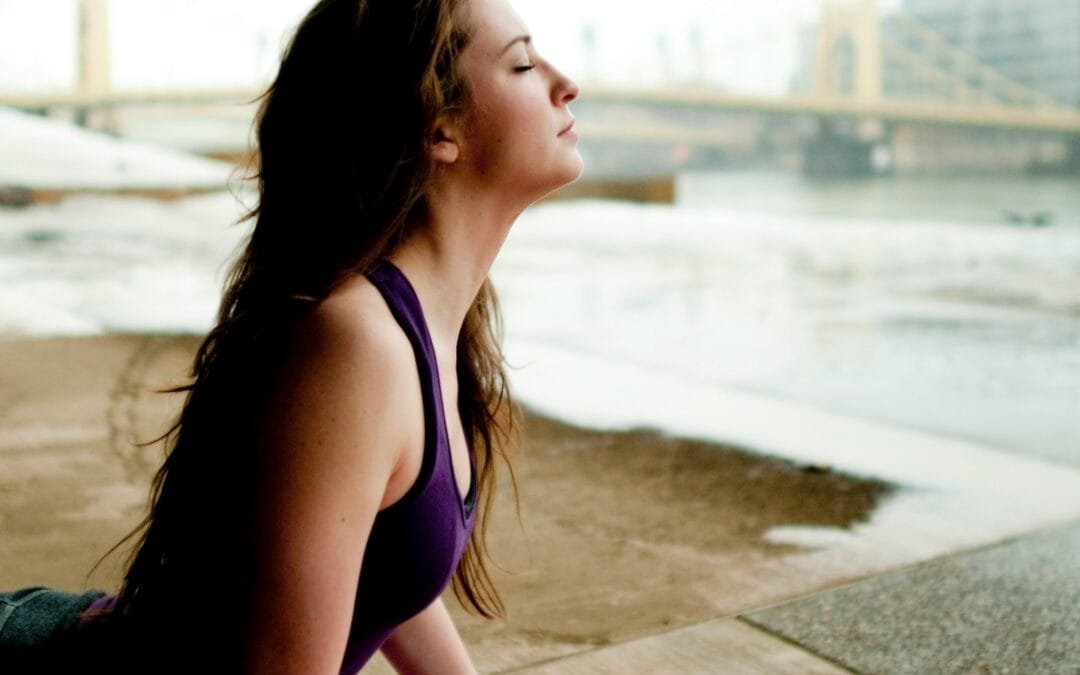
Yoga is much more than just a physical workout—it is a powerful tool for women’s health, mental clarity, and emotional balance. Research has shown that regular yoga can improve flexibility, balance, and overall well-being. Women, in particular, can benefit from poses that target core strength, reproductive health, stress relief, and emotional regulation
Explore the best female yoga positions to enhance strength, flexibility, and inner balance.
Physical Benefits of Yoga for Women
Yoga is scientifically proven to enhance strength, flexibility, and stability. A 16-week study on female college students found significant improvements in:
✅ Balance: Improved by 5.35 seconds (single-limb stance test)
✅ Flexibility: Lower back and leg flexibility increased by 3.5 cm
✅ Groin & Hip Mobility: Enhanced by 6 cm, improving posture and comfort while practicing eagle pose.
How does yoga help?
Yoga activates deep muscles in the back, core, and pelvis, engaging both extrinsic (surface muscles like the trapezius) and Intrinsic motivation is key when practicing yoga poses for beginners (stabilizing muscles like the iliocostalis). These postural muscles keep the spine and pelvis aligned and strong, reducing injury risk.
Top Yoga Poses for Women
These female-focused yoga poses support hormonal health, emotional stability, and physical endurance.
1. Uttanasana (Standing Forward Bend)
🔹 Stretches the hamstrings and lower back
🔹 Relieves tension from stress and anxiety
🔹 Improves digestion and circulation
Pose Summary
Uttanasana, or Standing Forward Bend, is one of the foundational yoga poses that deeply stretches the hamstrings, calves, and lower back. This helps calm and relieve stress, lengthen the spine, and increase flexibility over time.
Step 1.1: Starting Position
To begin, in Tadasana (Mountain Pose), standing tall with your feet hip-width apart, engage your thighs slightly and keep your arms resting at your sides.
Step 1.2: Initiating the Forward Fold
While exhaling, hinge at the hips and begin to fold forward. Keep your spine long as you lower your torso toward your legs.
Step 1.3: Deepening the Stretch
Let your hands reach toward the ground. If possible, place them flat on the mat beside your feet, or hold onto your shins or ankles. You may slightly bend in the knees if needed to maintain a long spine.
Step 1.4: Relaxing Into the Pose
Gently tuck your chin towards your chest and let your head hang down. Use gravity to help you stretch deeper. Keep your shoulders relaxed and away from your ears.
Step 1.5: Optional Movements
If comfortable, gently sway side to side or bend one knee at a time to ease into the stretch.
Step 1.6: Releasing the Pose
To exit, engage your core, bend your knees slightly, and slowly inhale as you rise back up to Tadasana, stacking each vertebra one at a time.
2. Bhujangasana (Cobra Pose)
🔹 Strengthens the spine and opens the heart chakra, contributing to better blood circulation.
🔹 Helps counteract poor posture from prolonged sitting
🔹 Boosts confidence and emotional resilience
Bhujangasana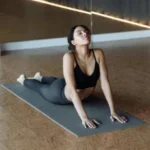
Pose Summary
Bhujangasana, or Cobra Pose, is a rejuvenating backbend that helps in strengthening the spine, it opens the chest and improves flexibility in the shoulders and abdomen. It is commonly practiced in Sun salutations and helps energize the body while relieving stress and fatigue.
Step 2.1: Starting Position
Begin by lying face down on your yoga mat, with your legs extended straight back and the toes pressing into the ground. Place your palms flat on the mat, directly under your shoulders, with elbows bent and tucked close to your ribs.
Step 2.2: Engaging the Core
On a journey through the practice of yoga, you will discover various poses that enhance your well-being. Inhale, press lightly through your hands and begin to lift your chest. Engage your core and thighs to support the lower back. Keep your elbows slightly bent rather than locked.
Step 2.3: Opening the Chest
Roll your shoulders down and away from your ears, broadening through the collarbones. Gaze slightly forward or upward, keeping the neck long and relaxed.
Step 2.4: Deepening the Pose (Optional)
If comfortable, straighten your arms slightly more to lift your chest higher, but avoid over-arching, especially when transitioning into downward facing dog for the lower back. Keep your pelvis rooted to the mat and ensure that your elbows maintain a soft bend.
Step 2.5: Holding the Pose
You have to hold for 3–5 breaths, focusing on slow, deep inhalations and expansion of the chest. Keep the lower body engaged and avoid collapsing into the shoulders.
Step 2.6: Releasing the Pose
While exhaling, gently lower your chest and forehead back towards the mat, bringing your hands alongside your body.
It is better to rest for a moment before transitioning to another pose.
Modifications & Variations:
- For beginners: modify each pose as needed. Keep a slight bend in the elbows and lift only as much as feels comfortable.
- For a deeper stretch in your yoga flow: Move into Upward Facing Dog (Urdhva Mukha Svanasana) by lifting your thighs off the mat and fully extending the arms.
- For a gentle variation, try Baby Cobra, where you lift just your chest while keeping the ribs grounded.
3. Shalabhasana (Locust Pose)
🔹 Strengthens the lower back, glutes, and hamstrings
🔹 Helps relieve menstrual discomfort
🔹 Improves posture and core stability
Pose Summary
Shalabhasana, or Locust Pose, is a dynamic backbend that strengthens the back, glutes, and legs. It is known to improve posture and spinal flexibility. This pose is excellent for counteracting the effects of prolonged sitting and helps develop core stability.
Step 3.1: Starting Position
Lie face down on your yoga mat with your legs extended straight behind you. Keep the toes resting on the floor and arms alongside your body, palms facing downward.
Step 3.2: Engaging the Core
While inhaling, engage your core, squeeze the glutes, and lift your chest, arms, and legs off the mat simultaneously, as instructed by your yoga instructor. Keep your legs straight and active to support the core muscles during your practice, ensuring body strength.
Step 3.3: Lifting & Lengthening
Extend through the crown of your head while reaching your fingertips back, enhancing your body flexibility. Keep your neck in a neutral position, avoiding strain by gazing slightly forward, as you would in a yoga class.
Step 3.4: Deepening the Pose
If comfortable, lift your arms higher and keep them parallel to the ground, or clasp your hands behind your back for an extra chest opening. Activate your thighs and press them together for a stronger lift.
Step 3.5: Holding the Pose
Stay in the pose for 3–5 breaths, maintaining steady breathing. Your focus needs to be on engaging your back muscles and keeping the legs lifted.
Step 3.6: Releasing the Pose
While exhaling, slowly lower your chest, arms, and legs back to the mat. Turn your head to one side and rest, allowing your body to relax.
Modifications & Variations:
- For beginners: Keep hands resting on the floor beside you and lift only the chest.
- For a deeper stretch: Extend your arms forward like Superman Pose to increase intensity.
- For added support: Place a folded blanket under the pelvis to reduce lower back strain.
Shalabhasana is a fantastic pose for strengthening the posterior chain and improving spinal flexibility. Let me know if you need variations for specific needs! 😊
4. Balasana (Child’s Pose)
🔹 A restorative pose that relieves tension, particularly helpful to the ligaments
🔹 Stretches the hips, back, and shoulders
🔹 Calms the nervous system
Pose Summary
Balasana, or Child’s Pose, is a restorative yoga posture that gently stretches the lower back, hips, and thighs while promoting relaxation and grounding. This pose is often used as a resting posture during yoga practice to release tension and calm the mind.
Step 4.1: Starting Position
Begin in a kneeling position with your big toes touching and knees either together or slightly apart for more comfort. Rest your hands on your thighs.
Step 4.2: Folding Forward
On an exhale, slowly lower your torso forward, bringing your forehead to rest on the mat. Allow your chest to soften onto your thighs (or between them if your knees are apart).
Step 4.3: Arm Placement
Extend your arms forward with palms facing down for an active stretch, or rest them alongside your body with palms facing up for a more relaxed variation.
Step 4.4: Relaxing Into the Pose
Gently press your hips toward your heels and allow your body to surrender into the pose, similar to the relaxing effects of cow face pose. Keep your shoulders relaxed and breathe deeply.
Step 4.5: Holding the Pose
Stay in the pose for 5–10 breaths, focusing on the connection between body and mind., focusing on deep, slow inhalations and exhalations to encourage relaxation.
Step 4.6: Releasing the Pose
To exit, inhale as you slowly lift your torso back up to a seated position.
Modifications & Variations:
- For beginners: You can place a folded blanket under your knees or a cushion between your hips and heels for extra support.
- For a deeper stretch: Widen your knees further apart and reach your arms forward to lengthen the spine.
- For extra relaxation, consider using a forearm support. Place a yoga block under your forehead for support.
Balasana is an excellent pose for stress relief, grounding, and gently stretching the muscles and joints. Let me know if you need specific variations! 😊
5. Setu Bandhasana (Bridge Pose)
🔹 Strengthens the lower body and core
🔹 Stimulates the thyroid for hormonal balance
🔹 Supports pelvic floor strength
Pose Summary
Setu Bandhasana, or Bridge Pose, is one of the most versatile backbend that strengthens the spine, opens the chest, and energizes the body. It is excellent for improving posture, relieving back tension, and stimulating the nervous system.
Step 5.1: Starting Position
Lie on your back with your knees bent and feet hip-width apart, flat on the mat. Keep your arms resting alongside your body with palms facing down, preparing for tree pose, which is essential in the practice of yoga.
Step 5.2: Setting the Foundation
Ensure your feet are firmly planted, with heels close to your sitting bones. Keep your thighs parallel and hip-distance apart.
Step 5.3: Lifting the Hips
On an inhale, press through your feet and engage your glutes to lift your hips toward the ceiling. Keep your knees aligned and avoid letting them splay outward.
Step 5.4: Opening the Chest
Roll your shoulders slightly underneath and interlace your fingers beneath your back, pressing your arms into the mat for support. Expand the chest and keep your chin slightly tucked in order to maintain a neutral neck position.
Step 5.5: Holding the Pose
Stay in the pose for 3–5 breaths, actively engaging the thighs and glutes while keeping the lower back supported.
Step 5.6: Releasing the Pose
On an exhale, gently unclasp your hands (if interlaced) and slowly lower your spine back down, one vertebra at a time, until your back rests on the mat.
Modifications & Variations:
- For beginners: Place a yoga block under your sacrum for a supported Bridge Pose.
- For a deeper stretch: Lift onto the balls of your feet or clasp the ankles with your hands.
- For added strength: Hold the pose longer and focus on engaging the core and thighs.
Setu Bandhasana is a great posture for strengthening the lower body and opening the heart. Let me know if you need variations for specific needs! 😊
6. Utkata Konasana (Goddess Pose)
🔹 Builds strength in the legs, glutes, and core, promoting better blood flow.
🔹 Encourages inner confidence and power
🔹 Supports hormonal balance
Pose Summary
Utkata Konasana, or Goddess Pose, is a powerful standing posture that builds and develops strength in the legs, core, and lower body while opening the hips and chest. This pose is known to energize the body, enhance the balance, and promote the stability.
Step 6.1: Starting Position
To begin this, start by standing in Tadasana (Mountain Pose) at the top one end of your mat. Step your feet wide apart, about 3–4 feet, with toes turned outward at a 45-degree angle.
Step 6.2: Bending the Knees
While exhaling, bend your knees deeply, ensuring that they align over your ankles, lower your hips toward the level of your knees while keeping your spine tall and engaged to strengthen your body.
Step 6.3: Engaging the Core
Draw your navel inward to engage the core muscles and prevent excessive arching of the lower back. Keep your chest lifted and shoulders relaxed.
Step 6.4: Arm Placement
Extend your arms out to the sides at shoulder height, then bend your elbows at 90 degrees, with palms facing forward in a strong yet relaxed position. This represents the “Goddess” like arms.
Step 6.5: Holding the Pose
Hold the posture for 3–5 breaths, focusing on steady breathing. Feel the strength in your legs, inner thighs, and core while maintaining balance.
Step 6.6: Releasing the Pose
While inhaling, straighten your legs and bring your arms back down. Step your feet together and return to Tadasana.
Modifications & Variations:
- For beginners: Keep the knees slightly bent and reduce the depth of the squat.
- For a deeper challenge: Lower the hips further and hold for longer durations.
- For extra balance: Practice against a wall for support while strengthening the lower body.
Utkata Konasana is an excellent pose for building endurance, opening the hips, and enhancing stability. Please don’t hesitate to let me know if you need specific modifications! 😊
7. Apanasana (Knees-to-Chest Pose)
🔹 Relieves menstrual cramps and bloating
🔹 Supports digestive health
🔹 Gently stretches the lower back
Pose Summary
Apanasana, commonly known as Knees-to-Chest Pose, is a soothing lying position that assists in alleviating tension in the lower back, massages the spine, and encourages relaxation, making it a great addition to your vinyasa practice. This posture helps with digestion, reduces stress, and enhances hip flexibility.
Step 7.1: Starting Position
Begin by lying on your back with your legs straight and arms resting by your sides, ensuring that your neck and spine are aligned in a neutral position.
Step 7.2: Drawing the Knees In
As you breathe out, bend your knees and bring them up toward your chest. Hold onto your shins or knees with your hands, softly drawing them closer, similar to the lotus pose.
Step 7.3: Aligning the Spine
Gently tuck your chin to elongate the back of your neck. Ensure your lower back and sacrum stay grounded while letting your shoulders relax.
Step 7.4: Optional Movements
For an even deeper stretch, gently rock side to side or circle the knees in one direction and then the other, massaging the lower back.
Step 7.5: Holding the Pose
Stay in the pose for 5–10 breaths, maintaining a steady and relaxed breathing rhythm.
Step 7.6: Releasing the Pose
On an exhale, slowly extend your legs back to the mat and rest your arms alongside your body.
Modifications & Variations:
- For beginners: Hold behind the thighs instead of the shins for a gentler stretch.
- For added release: Rock slightly forward and backward to massage the spine.
- For deeper relaxation: Perform one leg at a time (Single-Knee-to-Chest Pose).
Apanasana is a wonderful pose for spinal health, digestion, and relaxation. Let me know if you need specific variations! 😊
8. Eka Pada Rajakapotasana (Pigeon Pose)
🔹 Opens tight hips, releasing emotional tension
🔹 Supports sacral chakra healing
🔹 Aids in hormonal balance and pelvic mobility
Pose Summary
Eka Pada Rajakapotasana, or One-Legged King Pigeon Pose, is a deep hip-opening posture that enhances flexibility, strengthens the back, and promotes emotional release. It also stretches the thighs, groin, and chest while improving posture and spinal mobility.
Step 8.1: Starting Position
Begin in Downward-Facing Dog (Adho Mukha Svanasana) or Tabletop Position (Bharmanasana) with your hands and knees on the mat.
Step 8.2: Positioning the Front Leg
While exhaling, bring your right knee forward and place it behind your right wrist. Position your right shin diagonally across the mat in a low lunge, keeping your foot flexed. Your left leg should extend straight back, with the toe resting on the mat.
Step 8.3: Squaring the Hips
Gently square your hips toward the front of the mat. Keep your pelvis leveled, ensure that your weight is evenly distributed.
Step 8.4: Folding Forward (Optional)
For even deeper stretch, inhale and lengthen the spine. Exhale and fold forward thus resting your forehead on the mat.
Step 8.5: Holding the Pose
Maintain the pose for 5–10 breaths and focus on deep breathing and relaxation.
Step 8.6: Releasing the Pose
While exhaling, release the back foot and bring your hands to the mat, thus gently step back into Downward-Facing Dog before switching sides.
Modifications & Variations:
- For beginners: Place a folded blanket or yoga block under the front hip for support.
Eka Pada Rajakapotasana is excellent for hip flexibility, back strengthening, and emotional release. Let me know if you need modifications for different levels! 😊
9. Adho Mukha Svanasana (Downward-Facing Dog)
🔹 Stimulates blood circulation
🔹 Relieves back pain and stiffness
🔹 Strengthens the arms, core, and legs
Pose Summary
Adho Mukha Svanasana, or Downward-Facing Dog, is one of the most widely practiced yoga poses, offering a full-body stretch while building strength and flexibility. This pose energizes the body, improves circulation, and serves as a transitional posture in many yoga sequences.
Step 9.1: Starting Position
Begin in Tabletop Position with your hands directly under your shoulders and knees under your hips. Spread your fingers wide and press firmly into the mat.
Step 9.2: Lifting the Hips
On an exhale, tuck your toes under and lift your knees off the mat to enhance your physical practice. Straighten your legs as you press your hips upward and back, forming an inverted “V” shape.
Step 9.3: Adjusting the Posture
Keep your hands shoulder-width apart and feet hip-width apart. Press your heels gently toward the floor (they don’t have to touch). Keep your head between your arms with a neutral neck.
Step 9.4: Engaging the Muscles
Firmly press through your palms to lengthen the spine. Draw your shoulder blades down the back and engage your core to stabilize the pose.
Step 9.5: Holding the Pose
Stay in Downward Dog for 5–10 breaths, maintaining even and steady breathing.
Step 9.6: Releasing the Pose
On an exhale, lower your knees back to the mat into Child’s Pose (Balasana) or shift forward into Plank Pose.
Modifications & Variations:
- For beginners: Bend your knees slightly if your hamstrings are tight.
- For deeper flexibility: Walk your feet closer to your hands or pedal your heels to stretch each leg individually in preparation for advanced yoga poses.
- For added strength: Transition into Three-Legged Dog by lifting one leg at a time.
Adho Mukha Svanasana is one of the foundational pose that strengthens and stretches the entire body. Let me know if you need specific modifications! 😊
10. Janu Sirsasana (Head-to-Knee Forward Bend)
🔹 Relieves headaches and menstrual discomfort
🔹 Stretches the hamstrings and back
🔹 Encourages deep relaxation
Pose Summary
Janu Sirsasana, or Head-to-Knee Forward Bend, is a calming, seated posture that is recommended to deeply stretch the hamstrings, lower back, and shoulders while promoting relaxation and flexibility. This asana helps in improving digestion, enhance spinal mobility, and reduce stress.
Step 10.1: Starting Position
Begin by sitting on the mat with your hips and lower back aligned, legs extended straight in front of you in Dandasana (Staff Pose). Keep your spine tall and shoulders relaxed.
Step 10.2: Bending One Knee
Bend your right knee and bring the sole of your right foot to rest against your inner left thigh in garland pose. Let your right knee drop outward naturally.
Step 10.3: Aligning the Torso
On an inhale, lengthen your spine and turn slightly to align your torso over your extended left leg.
Step 10.4: Folding Forward
On an exhale, hinge at the hips and begin to fold forward over your left leg. Keep your back long and avoid rounding your spine. Reach for your left foot, ankle, or shin, depending on your flexibility.
Step 10.5: Relaxing Into the Pose
Allow your head to move toward your knee without forcing it. Keep your shoulders relaxed and breathe deeply, softening into the stretch.
Step 10.6: Holding the Pose
Stay in the pose for 5–10 breaths, allowing each exhale to deepen your stretch.
Step 10.7: Releasing the Pose
On an inhale, slowly lift your torso back up and extend your right leg forward. Repeat the pose on the other side.
Modifications & Variations:
- For beginners: Place a yoga strap around the extended foot to assist with the stretch.
- For tight hamstrings: Keep a slight bend in the extended knee or sit on a folded blanket for support.
- For a deeper stretch: Walk your hands further forward and relax your head toward the leg.
Janu Sirsasana is a fantastic pose for improving flexibility, calming the nervous system, and enhancing digestion. Let me know if you need modifications for different levels! 😊
Each of these yoga positions is tailored to support women’s health, whether through physical strength, hormonal balance, or stress relief.
Yoga for Women’s Emotional and Mental Wellness
Can Yoga Improve Mood and Mental Health?
Absolutely! Studies have shown that yoga:
💖 Boosts self-esteem and body confidence
💖 Reduces cortisol (stress hormone)
💖 Enhances vagal tone, which supports relaxation
One study found that practicing Hatha yoga three times per week for four weeks significantly reduced stress and anxiety levels in women, as yoga poses can help improve overall physical health.
Yoga Poses for Emotional Balance
🌸 Virabhadrasana II (Warrior II): Builds resilience and confidence
🌸 Supta Baddha Konasana (Reclined Butterfly Pose): a great way to improve body flexibility. Relieves stress and menstrual discomfort
🌸 Baddha Konasana (Butterfly Pose): Encourages emotional release
🌸 Viparita Karani (Legs-Up-The-Wall Pose) is one of the best yoga poses for relaxation. Soothes the nervous system
These poses create emotional stability and promote relaxation.
Breathwork (Pranayama) for Women’s Wellness
Pairing yoga with pranayama (breathing techniques) enhances its benefits, supporting stress relief, hormone balance, and mental focus.
Top Pranayama Techniques for Women
🌀 Nadi Shodhana (Alternate Nostril Breathing): Balances hormones and the nervous system, physically and mentally.
🔥 Bhastrika (Bellows Breath): Boosts energy and metabolism
🌊 Ujjayi Pranayama (Ocean Breath): Improves focus and mental clarity are essential aspects of mastering challenging poses like the handstand.
🎵 Bhramari (Bumblebee Breath): Reduces anxiety and PMS mood swings
Practicing breathwork daily can enhance emotional stability and resilience.
Yoga for Women’s Hormonal Health
Many women struggle with body strength and flexibility. hormonal imbalances, PMS symptoms, and menopause-related issues. Yoga can help by stimulating the endocrine system and regulating estrogen and progesterone levels.
🔹 Salamba Sirsasana (Supported Headstand): Supports hormonal balance
🔹 Ardha Matsyendrasana (Half Lord of the Fishes Pose): Reduces menstrual cramps and digestive issues
🔹 Supta Baddha Konasana (Reclined Butterfly Pose): Calms the nervous system
Regular yoga practice supports women’s overall reproductive and hormonal health.
How to Incorporate Yoga Into Your Daily Routine
Beginner’s Guide to a Simple Yoga Practice: ✅ Start with 10-15 minutes of stretching and breathing
✅ Choose 4-5 poses can enhance your range of motion and flexibility. and hold each for 30-60 seconds
✅ Add breathwork (5-10 minutes) for mental clarity
✅ End with a focus on increasing your flexibility and relaxation. Savasana (Corpse Pose) for deep relaxation
Even a few minutes a day can create lasting benefits, especially when you incorporate pilates to strengthen your body. The key is consistency.
Unlock Your Inner Calm with Ujjayi Pranayama
Ladies, are you feeling overwhelmed by daily stress, restless nights, or lack of focus? Ujjayi Pranayama Ujjayi breath, also known as “Victorious Breath” or “Ocean Breath,” is your key to finding balance, boosting mental clarity, and energizing your body—all through the power of mindful breathing during your yoga class.
This ancient yogic breathing technique helps reduce stress, enhance lung capacity, and create inner warmth, making it perfect for your yoga practice and for everyday life.
It’s almost personal that Ujjayi Pranayama can do wonders – we all have to juggle work, family, and self-care. Ujjayi breath can ground you in the present moment while improving focus and emotional well-being.
How to Practice Ujjayi Pranayama:
✔️ Sit in a comfortable position with your spine straight and shoulders relaxed.
✔️ Take a deep breath through nose while slightly constricting the back of your throat, may be use your fingers help in this, to create a gentle, ocean-like sound.
✔️ Exhale slowly, through nose while maintaining the same soft throat constriction.
✔️ Continue for 5–10 minutes, experience the feeling of relaxation of your mind and body.
💖 Ready to harness your inner power? You can take deep breath and embrace the soothing magic of Ujjayi Pranayama.
- Imported
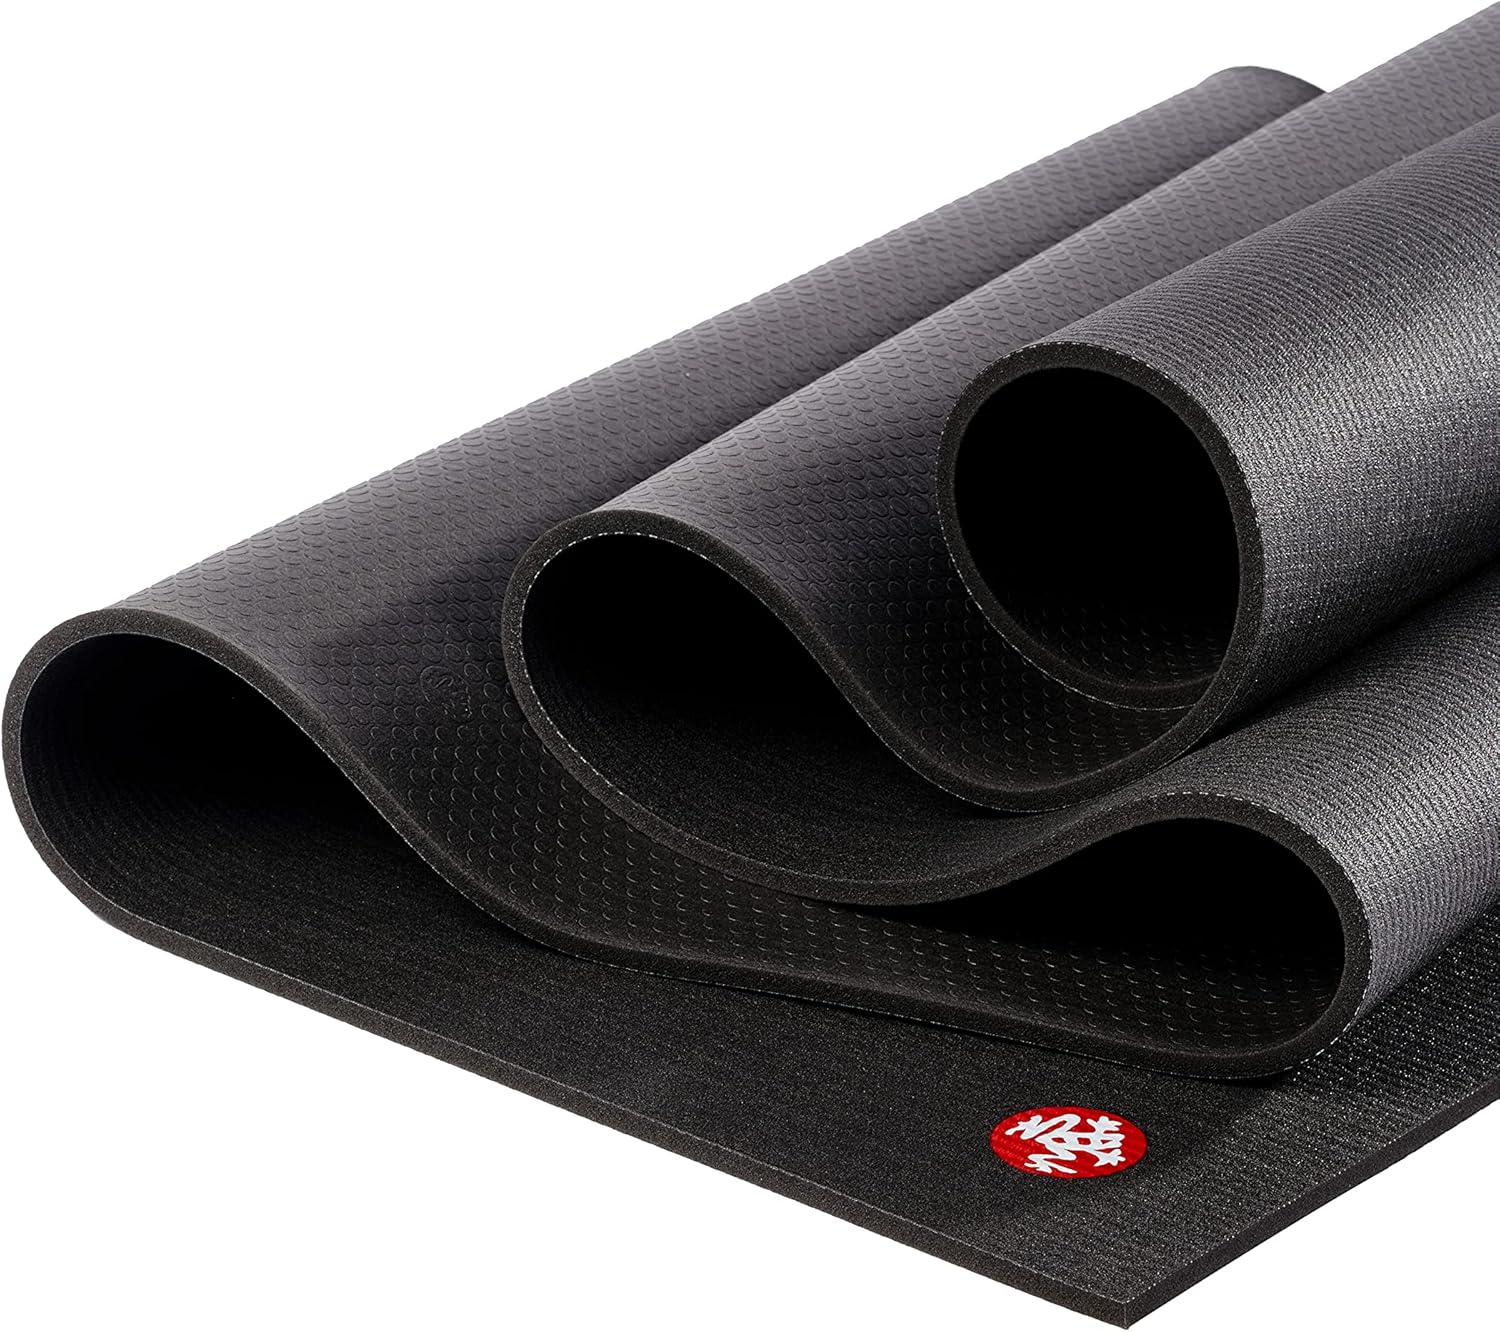
- BEST IN CLASS MAT: Our PRO multipurpose workout mat is the #1 recommended mat by fitness instructors and yoga therapists all over the world, built to last a lifetime
- HIGH DENSITY CUSHION: Ultra-dense, 6 mm cushioning provides superior support, stability, and joint protection, along with comfort on any surface
- RESPONSIBLY MADE: Each mat is meticulously handmade in an emissions-free German facility with 100% latex-free PVC that has been certified STANDARD 100 by OEKO-TEX; Handmade products may vary slightly in length, width and/or thickness
- BREAKING IN YOUR MAT: The non slip grip of the mat will improve with use, and textured top layer allows you to flow between postures without sticking; Keep practicing to break your mat in over time
- CARE INSTRUCTIONS: Our closed-cell material helps keep out moisture, but to keep your mat clean and smelling fresh, use our Yoga Mat Wash & Refresh spray and Botanical Cleaner *other cleaning solutions are not tested/recommended*
Try this today and feel the difference in your energy, focus, and emotional balance through your physical practice! 🌿✨
Final Thoughts: The Power of Female Yoga Positions
Yoga isn’t just about physical movement—it’s a holistic practice that strengthens the body, balances hormones, and calms the mind.
✅ Want strength? Try Warrior Poses and Goddess Pose
✅ Need relaxation? Practice Child’s Pose and Legs-Up-The-Wall
✅ Seeking hormonal balance? Do Butterfly Pose and Supported Headstands
✅ Struggling with anxiety? Breathe deeply with Ujjayi Pranayama
✨ Start small, persist with it, and listen to your body.
✨ Your yoga practice is a journey, do not think it be a destination.
✨ Embrace the transformation—on and off the mat.
Are you ready to step into your power and experience the full benefits of female yoga positions? 🌿🧘♀️💫
You may like to read our related content …
Essentials of Yoga is a piece of fundamental information that can help you overcome the fear factor or sheer ignorance! Whether you’re brand new to the practice (hello, welcome!) or you’ve dabbled in a few sun salutations, understanding the essentials of yoga can make all the difference.